
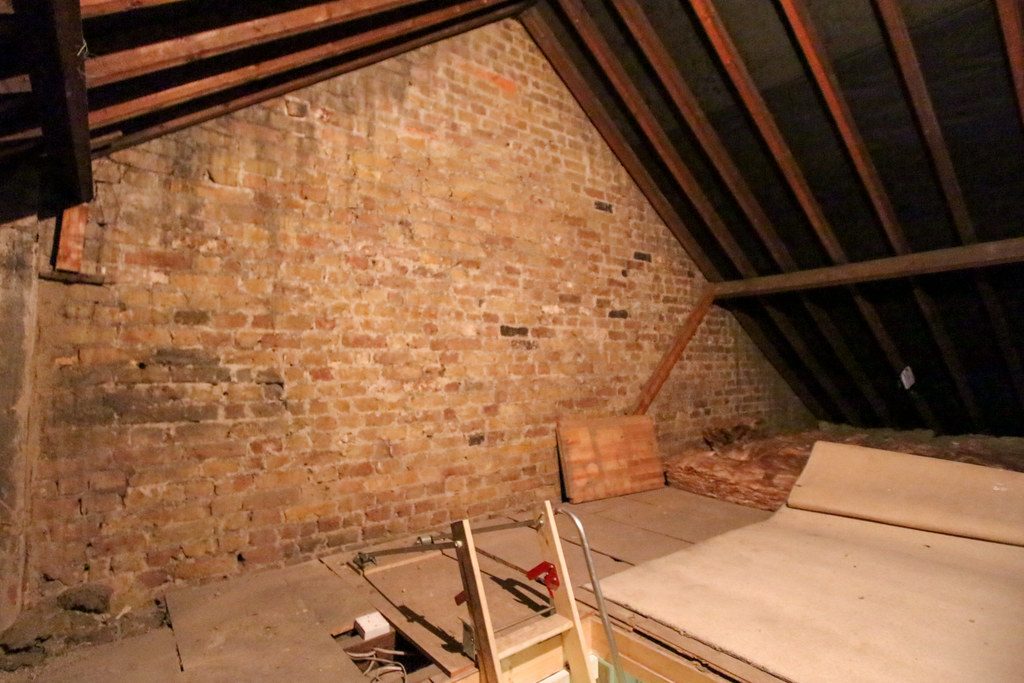

If you’re lucky enough to have a usable loft space, either as a living space or for secure storage for your household items, then you’ll know how useful this can be. But it can be difficult making the most of your loft space when you feel that access is a problem. That’s where BPS Access Solutions comes in: your one-stop-shop for loft ladders that come in a range of sizes and styles to suit your existing hatch door and make loft access that much easier.
Our ladders are perfect for retrofit and remodelling projects to ensure you can install a loft ladder that really suits your existing loft hatch, and also means you don’t need to install one yourself, having to factor in existing ceiling joists in order to install a secure loft ladder to begin with.
Below we’ll describe how to use a loft ladder kit to transform the way you access your loft through your existing opening. We’ll primarily focus on using loft ladder kits to install custom made hatch boxes that can provide a quality finish whilst increasing energy efficiency in your home.
How Having A Loft Hatch In Place Already Helps
Having a loft hatch already is a blessing, as it means you won’t have to create a loft hatch frame yourself by cutting into your ceiling to access your attic space. This could prove disastrous and costly if not done correctly. However, with a hatch already in place, your quest for loft ladders gets a whole lot easier.
If you need a loft ladder to fit under an existing hatch, there are even great space-saving concertina ladders available in a variety of sizes to fit even the narrowest ceiling openings, meaning you might not need to extend your loft hatch at all.
Opt for a concertina or telescopic loft ladder if space saving is important. You might also be able to install a wooden loft ladder if your hatch is accommodating. Timber ladders can usually be made to size, too, but picking the right ladder is important when installing your own loft ladder.
Below we’ll cover the main steps you’ll need to follow when installing loft ladders at home.
Step 1: Find The Right Loft Ladder
Folding, Concertina (scissor), Telescopic and Sliding loft ladders are some of the popular types of loft ladders available and are generally made from steel, aluminium, or wood. To understand how each type of ladder works, check out our article that goes through each of them.
You must choose the right sort of loft ladder for your project, so it would be beneficial if you speak to a loft access specialist who can advise you on the best loft ladder for your requirements and that it is fit for your purpose.
When choosing the right loft ladder, you’ll also need to seriously consider your own safety when accessing your attic space. Think about ladder length, ladder treads, and material. A wooden ladder that’s slightly longer and has less of a steep incline may be easier for some people than a steel, steeper ladder that’s quite narrow.
Think about your own needs, too. Matching loft ladders to loft hatches is important, but not as important as your own safety.
Step 2: Position Your Loft Ladder
Positioning your loft ladder in exactly the right place is a crucial part of fitting your loft ladder correctly.
We suggest that you have someone hoist the loft ladder up to you through the opening in the ceiling so you can fix it squarely. When doing this, you need to ensure that the battens are attached to the sides.
Ensuring the box frame is flush with the ceiling around the opening is essential and if it isn’t you will need to level it. A spirit level placed on one of the treads of your loft ladder is an excellent way to measure this.
You also need to make sure that the ladder extends in the right direction for climbing when it has been installed.
Most loft ladders are fairly easy to position correctly so long as you first chose the right location and right size ladder for the job.
Step 3: Fit The Box Frame
Drill holes in the box frame’s ends and sides, ideally three on the longer sides and two on the shorter sides. Countersink the holes and secure the box frame with brass or steel screws, as directed by the manufacturer.
You need to fix the box frame permanently and securely in order to ensure the ladder supports your weight when using it.
Step 4: Fit Mitred Architrave
It is highly likely that your existing loft hatch already has a frame fitted around the opening in the ceiling. If however, your loft hatch doesn’t have a frame, then a mitred architrave should now be put on to the edge of the box and frame. The architrave should be secured with 25mm panel pins, the heads of which should be punched below the surface.
Fitting a mitred architrave is an important part of securing the ladder but also in preventing heat from escaping through your ceiling opening.
Often when installing a hatch opening small gaps are left. These gaps may only be small, but if there’s a gap, heat will be lost through it, potentially making your home feel colder and increasing your heating bills as a result.
A mitred architrave prevents this and makes both your home and loft space more comfortable.
Step 5: Check All Fittings Are Secure
The penultimate step is to ensure that all the fixings are secure, including the handrail if you have one. If you are unsure about any of the fixings, tighten them before you finish the job.
Below is a list of the things you ought to check at this stage:
- ensure the battens nailed to the side of the opening line up with the ladder
- ensure all nail heads are driven into the relevant areas
- ensure the box frame is securely in place
- check the opening of your ladder to ensure it is securely fixed to the loft hatch and sits flat on the ground (especially important if your loft ladder kit doesn’t come with angled plastic feet and you had to cut them yourself with a sliding bevel)
It might also help to get a second opinion from your assistant where possible – safety precautions are vital when working at height.
Step 6: Maintain Your Loft Ladder Once Installed
Finally, we come on to the maintenance of your new loft ladder now you have fitted it. Looking after your loft ladder will ensure that it lasts for years.
Remember to only use your loft ladder for the purpose it was intended for and always make sure you follow the manufacturer and supplier’s guidelines on the maximum load weight. This will ensure your safety and the longevity and product lifespan of your new loft ladder.
Please note that this is a general guide for fitting a loft ladder to an existing hatch and you should read and follow the suppliers’ or manufacturers’ fitting instructions for your chosen loft ladder.
How To Fit a Loft Ladder to Existing Hatch Summary
When we move into a new property, or we need additional storage where we already have been living, better access to the loft space can make all the difference.
Loft installations are risky business if not done correctly. Loft flooring cannot support our weight without loft boarding. Ladders must also be placed along the joists rather than across them, therefore it’s usually best carried out by someone with the right level of skills, and hopefully, this is within your capabilities. This will ensure a quality finish and a snug, structurally sound fit.
When considering the cost of installing a loft ladder, two major variables must be considered.
The first is if a new hatch is required, which in this case is not going to be an issue.
The second consideration is the type of ladder you are looking for.
Aluminium sliding ladders, for example, will usually be less expensive than concertina or telescopic ladders, although bespoke folding ladders will be more expensive than other options.
If you need advice on the right loft ladder option for an existing hatch, contact BPS Access Solutions today.
